


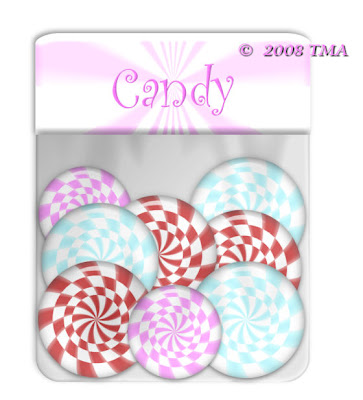
I don't write tutorials alot but wanted to share this with the group I belong to, so here it is. For those of you who don't feel like trying the tut, HERE is the link to download the bag of candy image below. The zip has the bag of candy in pspimage format, because there is layers in this.
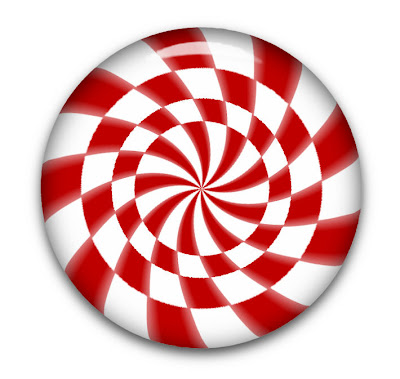
Peppermint Candy
Open a blank canvas 900 x 900, 300 dpi. I like to make mine big then resize
smaller if needed. Download my tut supplies HERE. In the zip is 4 gradients for candy and a pspimage with the 4 circles and a black background, to see the white circles better. If you use mine, delete the black before merging layers.
smaller if needed. Download my tut supplies HERE. In the zip is 4 gradients for candy and a pspimage with the 4 circles and a black background, to see the white circles better. If you use mine, delete the black before merging layers.
If you want to make your own circles, do the step below. If you use mine, skip to the next step.
Set foreground to white, background to null, choose shapes tool, make a
circle, holding shift key to keep it's round shape. Make it about 600 pixels
across. Objects>Align>Center of canvas. Duplicate the circle 3 times for a
total of 4, resize each layer by 75% uncheck resize all layers.
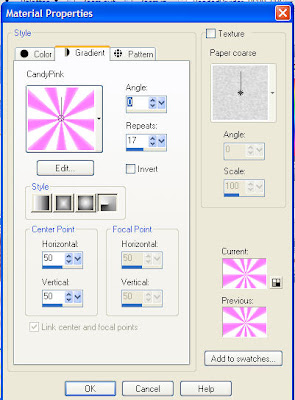
Select inside of circle in bottom layer with magic wand, add a new layer and
fill the new layer with the gradient Candy set with Radial at 17 repeats. Select
none and hide circle layer. Do this for the other 3 circles, making sure the fill
layer isn't with the circle as the white circle will throw off the look of a
peppermint candy.
When you have 4 layers all filled, now we do the twirl.
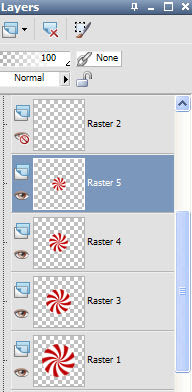
Effects>Distortion>Twirl and set the degrees at 60. Do this to all 4 layers. 2
of the layers need to be rotated so I rotated raster 3 and raster 5
Image>FreeRotate, 20 degrees to the right, make sure the all layers box is
UNchecked. The photo of the layers just shows you which 2 layers I am talking about to do the rotate on.
Merge all 4 candy layers and use EC5 Impact>Glass>Clear default settings. I know it gives you a shadow around the edge but I like this glass looks better than the settings for Clear, No Drop Shadow. You can play with the settings for this.
I hope everyone enjoys this little tutorial I wrote. Please email me if you have any questions
No comments:
Post a Comment